
Better Support Helps Stop Shaking, Noise, and Wear
Proper sound mounting reduces vibration by adding the right support, spacing, and isolation between equipment and the surface around it. When a unit is mounted the right way, less movement travels into walls, floors, or nearby parts. That means less noise, less shaking, and less wear over time. In homes and buildings around Fountain Inn, SC, this can help systems run smoother and last longer.
Quick Answer
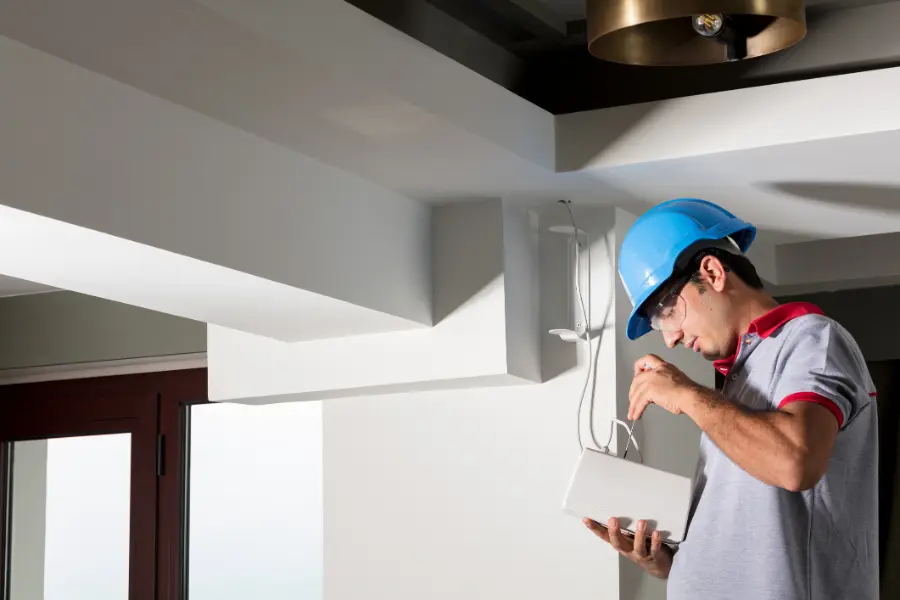
Sound mounting works by limiting how much force moves from one surface to another. A fan, speaker, motor, or other vibrating unit creates movement as it runs. If that unit is attached too tightly, unevenly, or with the wrong hardware, the vibration spreads. Proper mounting helps absorb or separate that movement. This lowers rattling, humming, and stress on the structure.
What You Need Before Starting
Before any mounting job begins, it helps to know what is causing the vibration. The type of equipment matters. So does the weight, speed, and location of the unit. The mounting surface also matters. Wood, drywall, steel, and concrete all react in different ways. If this work is part of a larger service category, the full system should be checked, not just one part.
It also helps to have the right parts on hand. That may include rubber isolators, brackets, pads, anchors, washers, and level tools. A poor fit can create more movement instead of less. Even a small gap or loose fastener can turn a mild hum into a strong rattle.
Step-by-Step Process
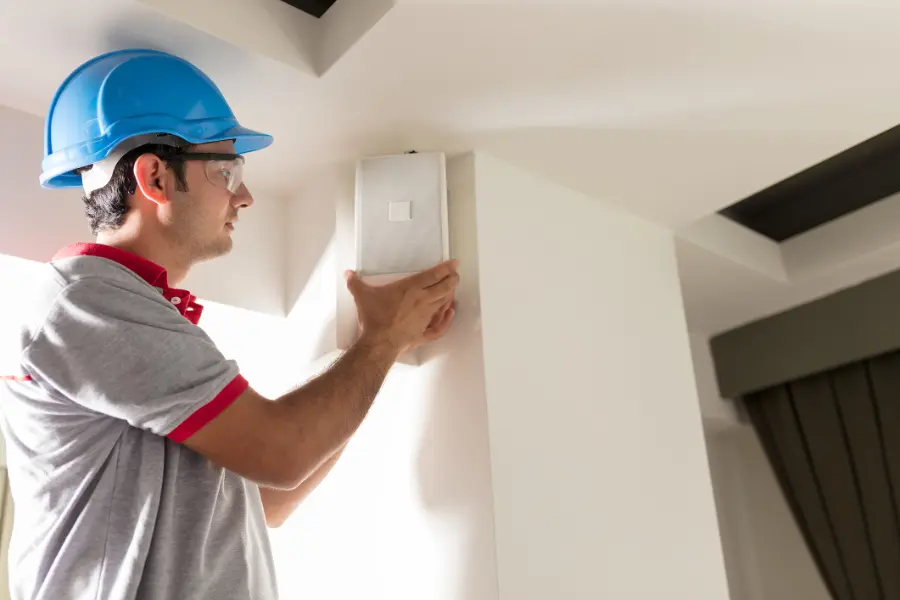
A basic sound mounting process usually follows a few clear steps. The goal is to reduce direct contact, spread weight evenly, and stop extra motion.
- Inspect the equipment and the area around it.
- Find where the vibration starts and where it travels.
- Check the base, wall, floor, or frame for weakness.
- Choose mounting parts that match the unit’s size and weight.
- Level the equipment before tightening any hardware.
- Add isolation material where movement needs to be cut down.
- Tighten all parts evenly to avoid tilt or stress points.
- Test the unit while it runs and listen for new noise.
Each step matters. If the unit is not level, one side may carry more force than the other. If the isolator is too stiff, it may not absorb enough movement. If it is too soft, the unit may bounce or shift too much.
Common Mistakes to Avoid
Many vibration issues happen because of simple setup mistakes. Some people mount a unit straight to a rigid surface with no buffer. Others reuse worn pads or loose brackets. In some cases, hardware is tightened too much, which can crush isolation material and remove the benefit.
- Using the wrong mount for the unit’s weight
- Skipping leveling before final installation
- Mounting to a weak or damaged surface
- Ignoring nearby pipes, ducts, or panels that can rattle
- Leaving old fasteners in place when they are worn
- Testing only at startup and not during full operation
Another common mistake is treating noise and vibration as the same issue every time. Noise can come from airflow, loose covers, or worn parts. Vibration often starts with imbalance, poor support, or direct contact between moving parts and the building.
When Proper Mounting Makes the Biggest Difference
Some situations show the value of sound mounting more than others. Wall-mounted units often need extra care because walls can act like drums. Ceiling equipment can send movement across wide areas. Floor units may cause a steady hum in nearby rooms when they sit on hard surfaces without enough isolation.
Proper mounting also matters when equipment runs for long periods each day. Small vibration problems may not seem serious at first. Over time, though, repeated shaking can loosen screws, wear connectors, crack finishes, and stress nearby materials. A better mounting setup helps cut those risks early.
When to Call a Professional
Some mounting jobs are simple. Others need a trained eye. If the source of the vibration is not clear, it is smart to get expert help. The same goes for heavy equipment, hard-to-reach areas, or systems connected to electrical, audio, or mechanical parts. A pro can test the setup, check load points, and find hidden causes that are easy to miss.
You may also need help if the vibration keeps coming back after a repair. That can point to a deeper issue like poor balance, motor wear, weak framing, or bad placement. In those cases, changing the mount alone may not solve the problem. The full setup has to be reviewed.
Final Recommendation
For many buildings, proper sound mounting is a simple way to reduce noise, shaking, and damage. The right setup helps equipment stay stable and keeps vibration from spreading into the structure. If a unit hums, rattles, or makes nearby surfaces shake, a mounting check is a good place to start. We help property owners across Fountain Inn, SC find the cause and choose a fix that fits. Contact Hook It Up Electronics to talk with us about your system, or call (864) 514-8518 and let us help you take the next step.